
With this widget, you can create a beautiful horizontal step progress bar that you can control manually.
Required Setup
- Elementor FREE Plugin installed & activated.
- You need to have the WDesignKit plugin installed and activated.
- Make sure you’ve created an account and logged into it.
- Make sure you’ve downloaded the Horizontal Level widget.
How to Activate the Horizontal Level Widget?
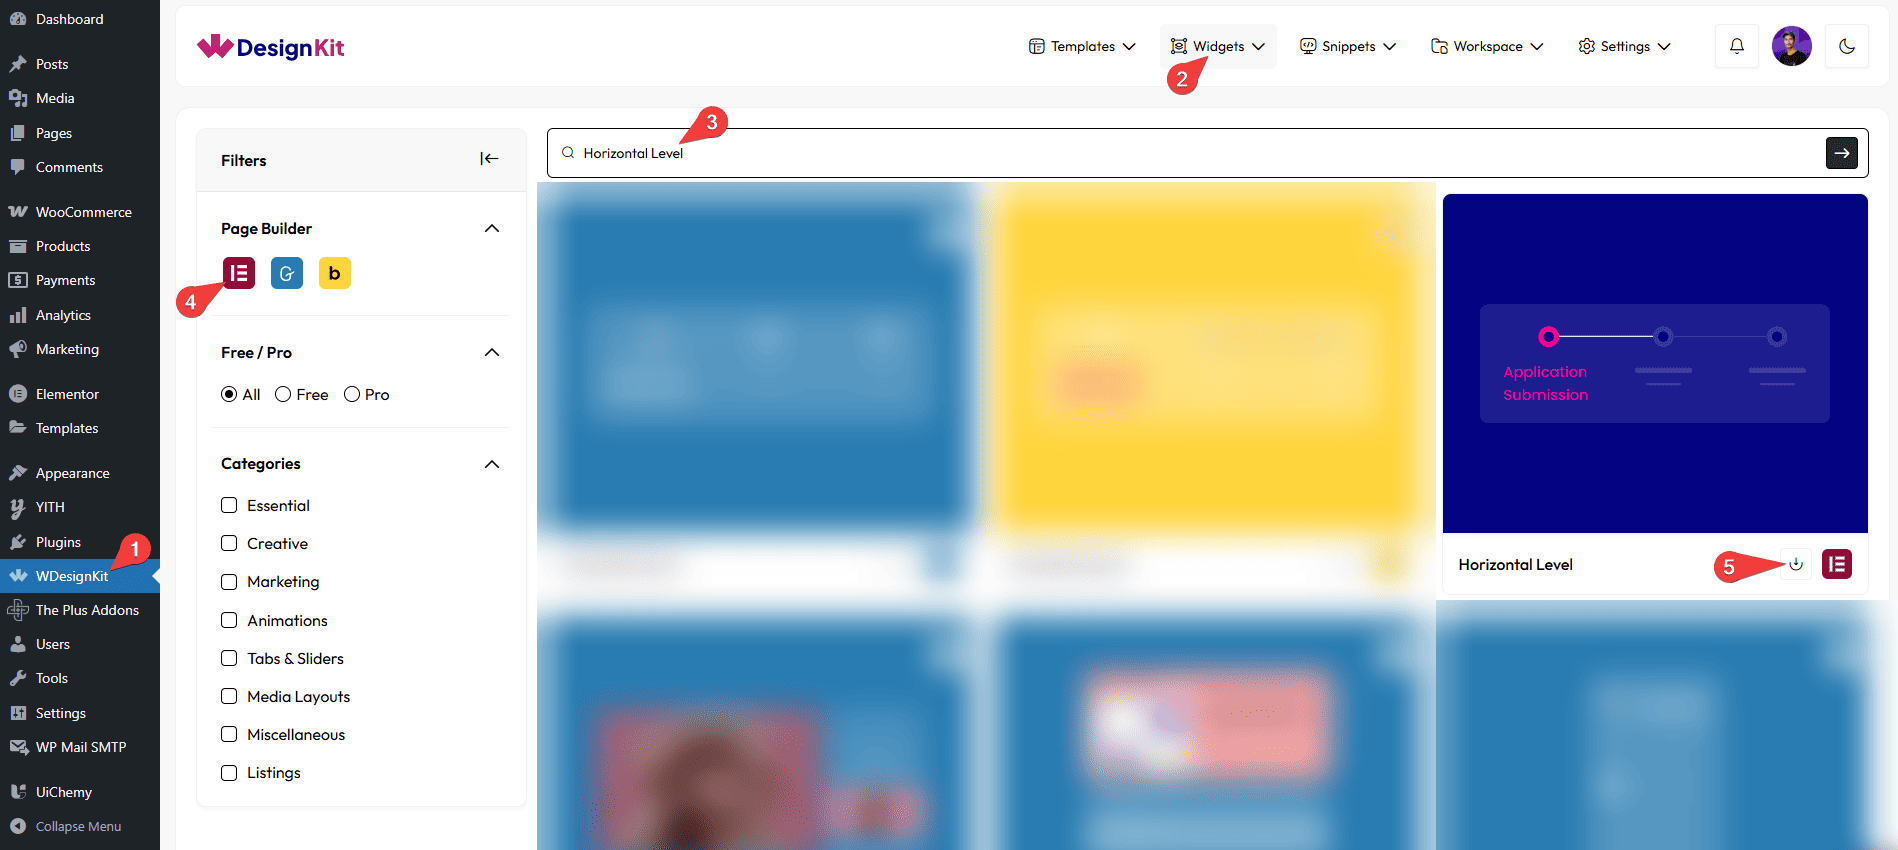
Go to
- WDesignKit → Widgets.
- Search for the widget name and select Elementor as the Page Builder.
- Click on the Download icon.
How to Use the Horizontal Level Widget in Elementor?
Add the Horizontal Level widget to the page.
Layout
From the Style dropdown, you can select the layout for the circle in the line. Here you’ll find three options –
- Dot – To show a dot in the circle.
- Number – To show a number in the circle.
- Check Mark – To show a check mark in the circle.
Note: To show the checkmark you have to enable the Active toggle in the repeater item.
Content
Then, in the Levels section, you have to add the items. By default, you’ll find one repeater item; open it.
From the Style dropdown, you can select the content type that will be added above the circle. Here you’ll find three options –
- Text – To show a text.
- Icon – To show an icon.
- Image – To show an image.
Based on your selection, you’ll find different options to add the content.
You can add a description from the Description field.
By enabling the Active toggle, you can fill the line of the item, making it active.
Then you’ll find some styling options to color the title, icon, and description for normal and hover states, along with options to color the dot, inner dot, and progress bar of the item.
You can click on the + Add Item button to add more items.
Extra Options
From this tab, you can set the number of columns for desktop, tablet, and mobile separately.
From the Style tab, you can customize the style further.