With this widget, you can add a WhatsApp chat box on the page for users to easily connect with you.
Required Setup
- Elementor FREE Plugin installed & activated.
- You need to have the WDesignKit plugin installed and activated.
- Make sure you’ve created an account and logged into it.
- Make sure you’ve downloaded the WhatsApp Chat widget.
How to Activate the WhatsApp Chat Widget?
Go to
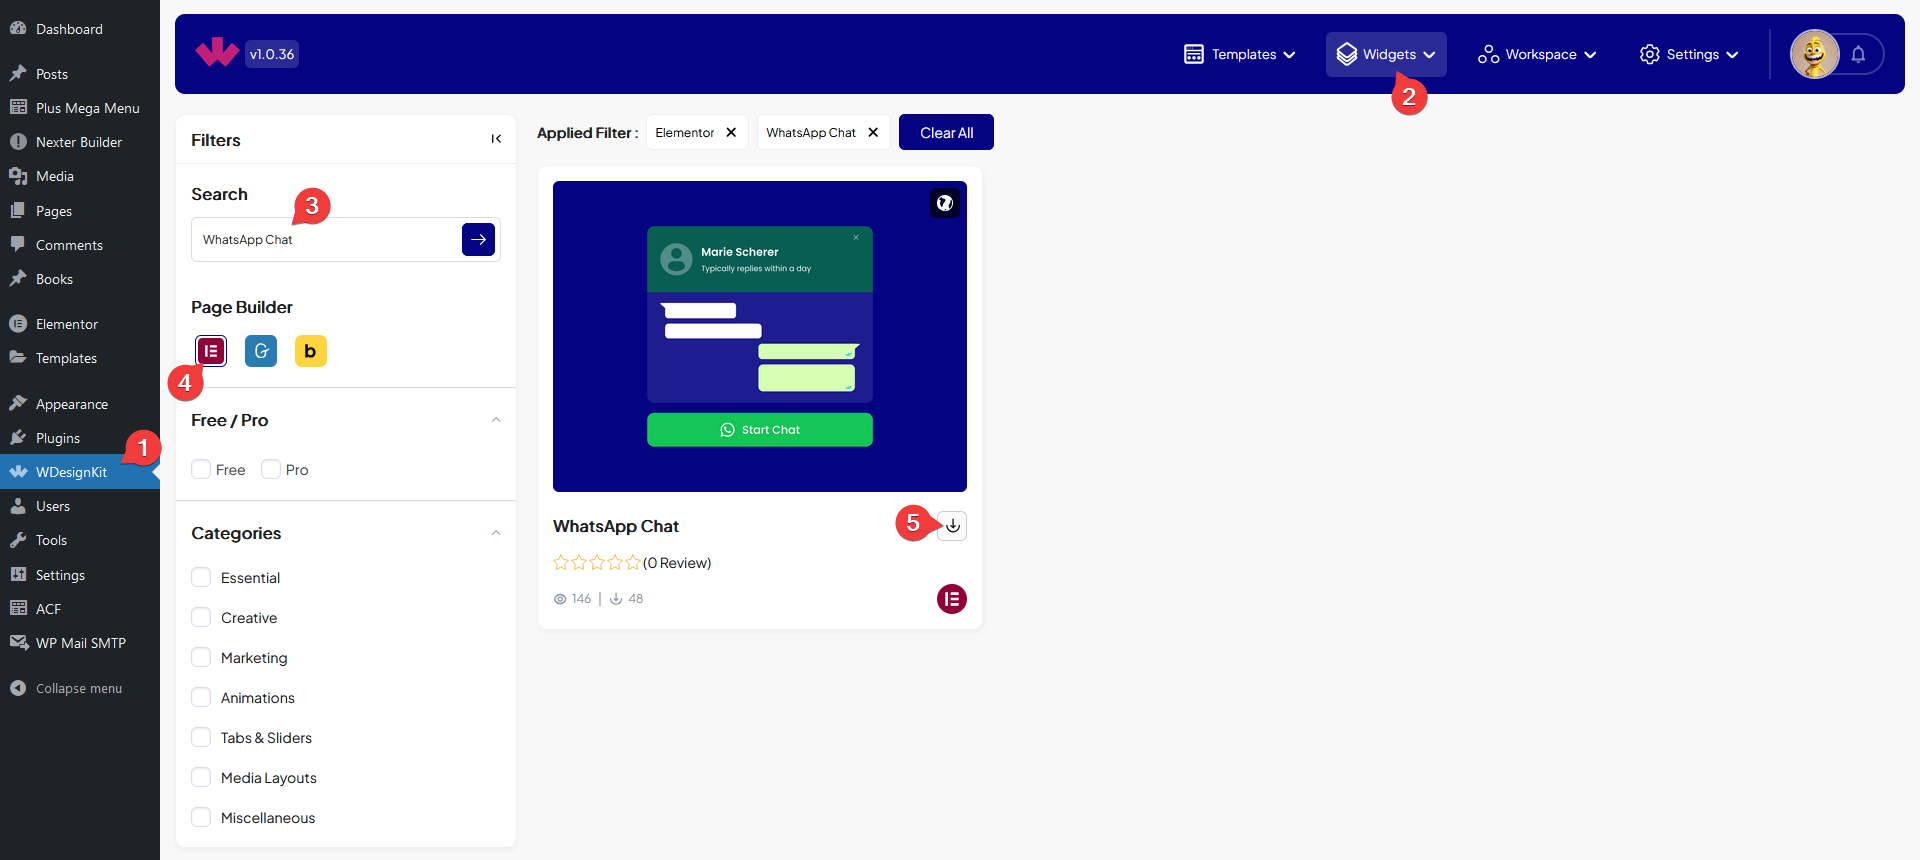
- WDesignKit → Widgets.
- Search the widget name and select Elementor as the Page Builder.
- Click on the Download icon.

How to Use the WhatsApp Chat Widget in Elementor?
Add the WhatsApp Chat widget to the page.
Toggle Button
In the Text field, you can add the toggle button text.

From the Icon Type dropdown, you can select the icon type. Here you’ll find two options –
- None – To add no icons.
- Icon – To add an icon.
By enabling the Show Dot toggle, you can show animated dots as if someone is typing in the chat box before showing the default text message.
Then, you can keep the chat box open by default by enabling the Default Enable toggle.
Content
In the Avatar Image section, you can add a profile image of the chat agent.
In the Title field, you can add the title of the chat agent.
You can add an icon beside the title as a verified icon from the Verified Icon section.
In the Subtitle field, you can add a subtitle.
From the Subtitle Prefix Icon section, you can add an icon before the subtitle.
Then in the Text field under the Content section, you have to add the default message.
From the Text field under the Button section, you can modify the button text in the chat box.
From the Icon Type dropdown, you can add an icon to the button.
Then in the WhatsApp Number field, you have to add the WhatsApp number where you want the user to contact.
Note: Make sure to add the Whatsapp number with the country code.
In the Message field, you can add a message that will be visible when users go to the WhatsApp page.
From the Style tab, you can further customize the chat box style.
