With this widget, you can display before-and-after images in a smooth and interactive way. Users can easily slide a divider to compare two images.
Required Setup
- Elementor FREE Plugin installed & activated.
- You need to have the WDesignKit plugin installed and activated.
- Make sure you’ve created an account and logged into it.
- This is a pro widget. A valid WDesignKit Pro license is required to access and use them.
- Make sure you’ve downloaded the Wavey Before After widget.
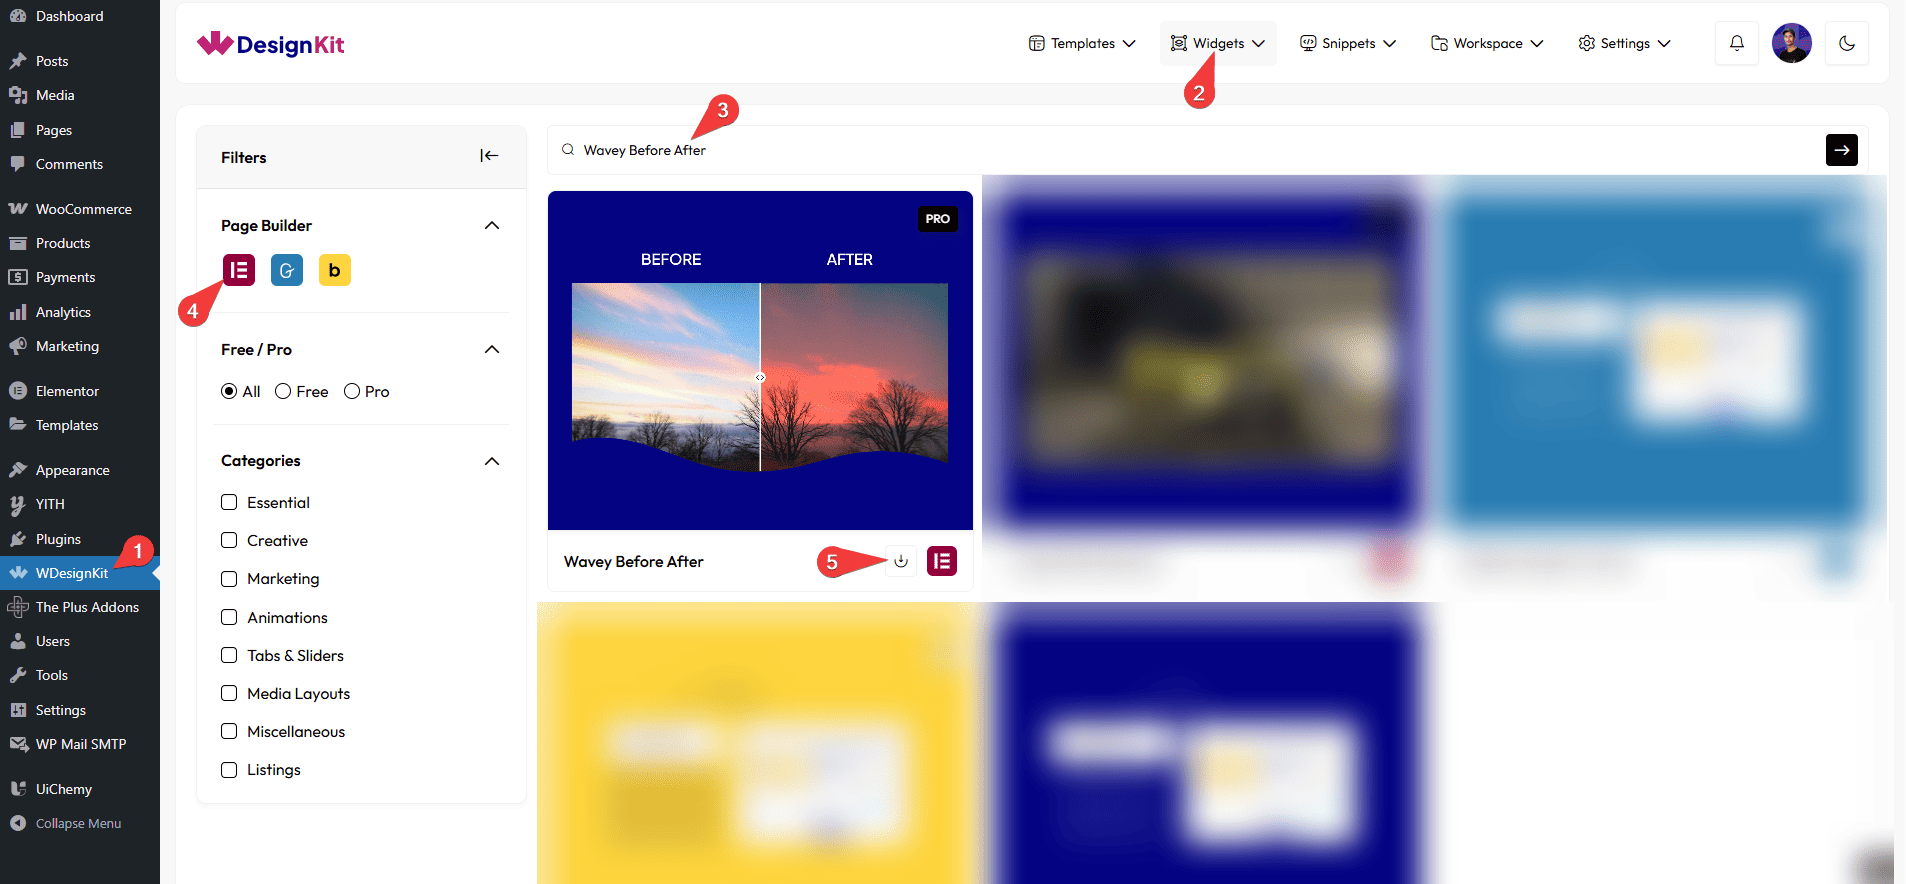
How to Activate the Wavey Before After Widget?
Go to
- WDesignKit → Widgets.
- Search for the widget name and select Elementor as the Page Builder.
- Click on the Download icon.
How to Use the Wavey Before After Widget in Elementor?
Add the Wavey Before After widget to the page.
Layout
From the Style dropdown, you can select different styles for the content.
Before
In the Label section, you can add a label for the before image.
Then, in the Description section, you can add a description for the before image.
In the Select Image section, you have to add the before image.
After
You can add a label for the after-image in the Label section.
Then, in the Description section, you can add a description for the after-image.
Similarly from the Select Image section, you have to add the after image.
Extra Options
From the Wave Style dropdown, you can select different styles for the wave.
Then, from the Style tab, you can further customize the style of the Wavey Before After.